


Classroom Activity Pack
- Regular price
-
$174.99 - Regular price
-
$174.99 - Sale price
-
$174.99
Couldn't load pickup availability
This comprehensive educational bundle is the perfect way to bring hands-on mycelium learning to your classroom. Perfect for educators, STEM programs, and interactive science curriculum.
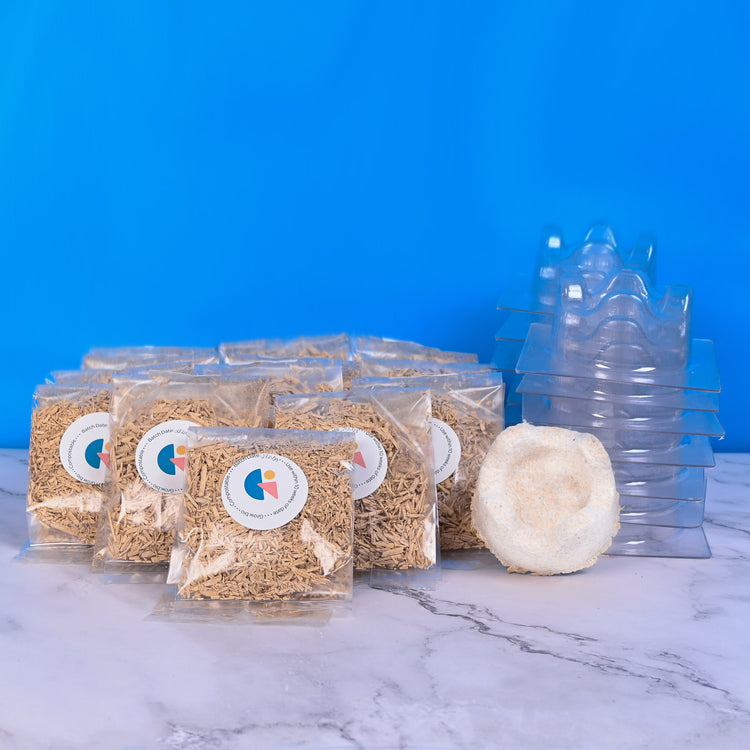
- Customizable Material Options – Choose either 1 bag of Dehydrated Material or 15 Mini Bags of Dehydrated Material
- Complete Classroom Setup – Includes 15 mini growth forms, 30 alcohol wipes, and 15 instruction cards
- Curriculum Integration – Free lesson plans available to incorporate into your teaching
Each pack provides enough materials for a full classroom of students to experience the fascinating process of mycelium growth and sustainable biomaterial creation.
For ages 13+ • Ships to North America • By purchasing this material you are agreeing to the terms in the GIY licensing agreement.
How It Works
Grow in 5 easy steps!
- Hydrate your GIY material bag
- Let grow for 4 days
- Crumble and add to your growth form
- Let grow in form for 5 days
- Remove from form and bake!
Why You'll Love It
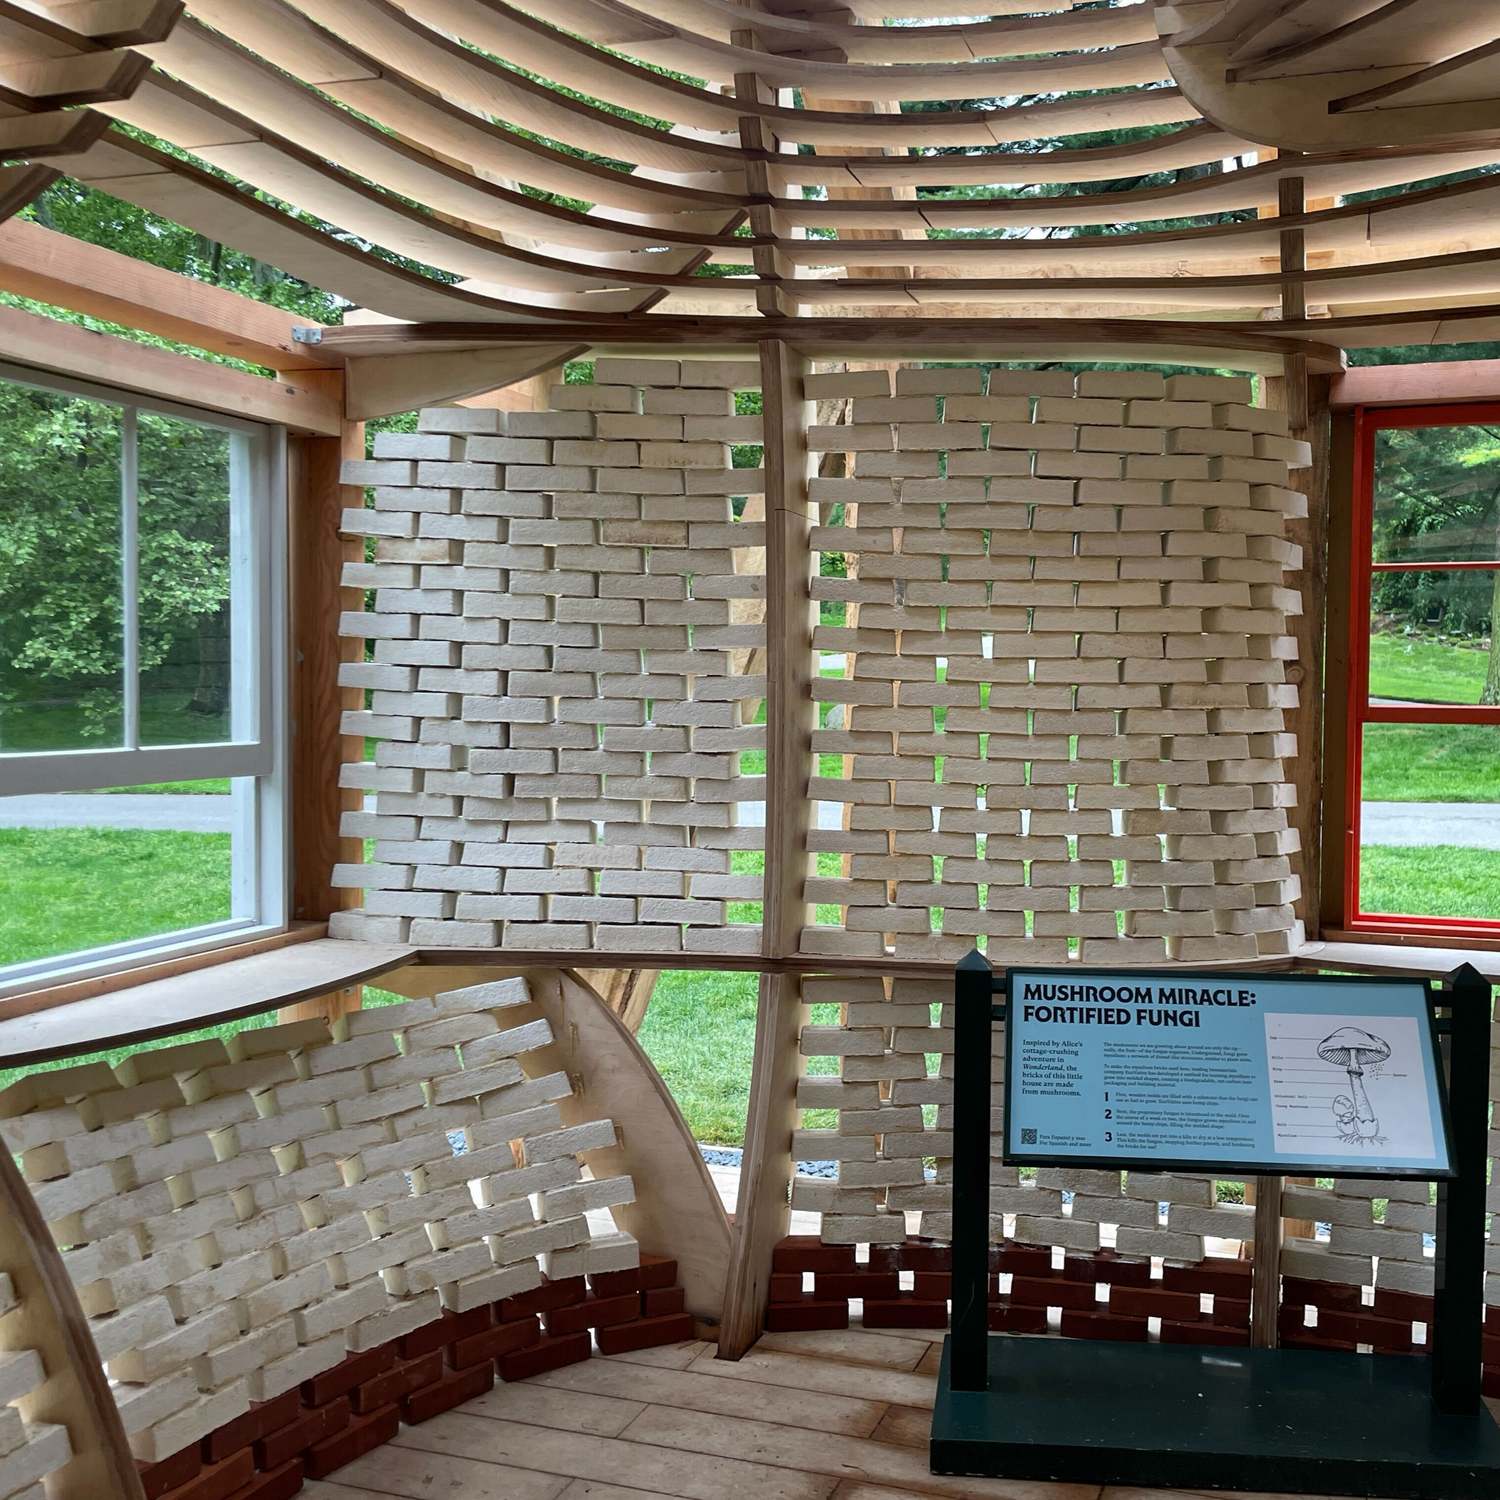
• Grow your own designs using natural mycelium
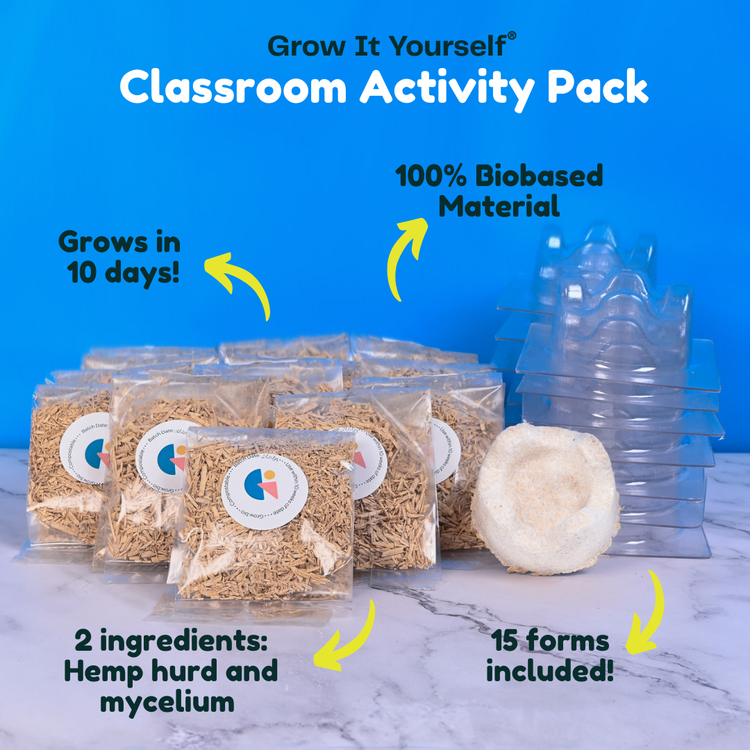
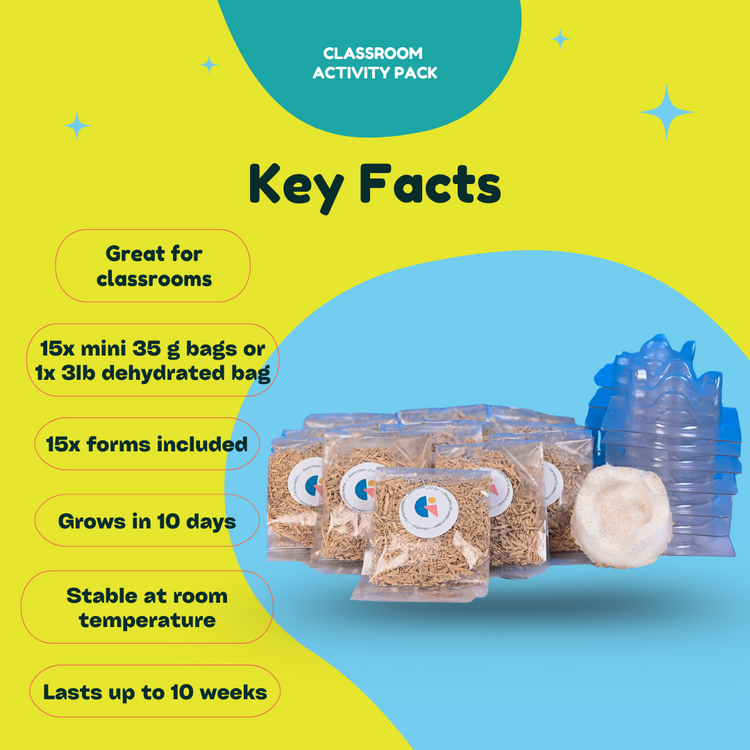
• Grows in 7-10 days
• Comes with 15 forms and your choice of 15 mini bags or 1 regular bag of mycelium material
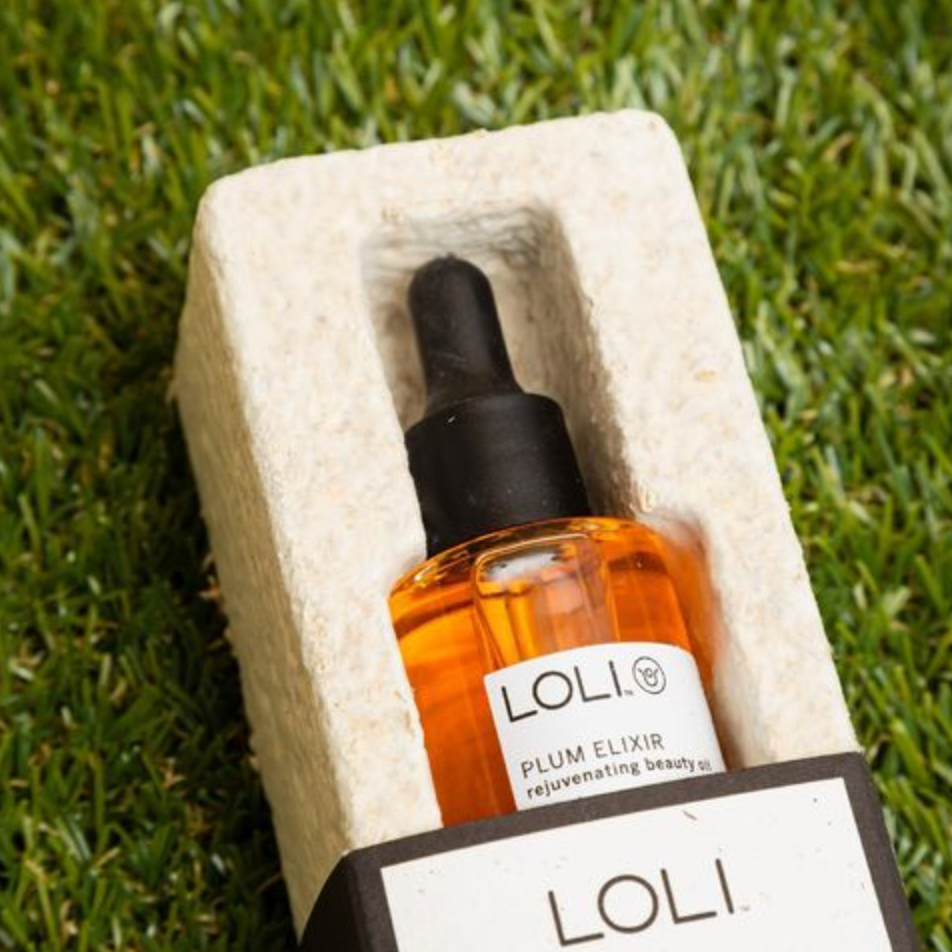
• Compostable & zero-waste
• Great for classroom experimentation
• Can be combined with sculpting mix to cast freeform or density mix to achieve sturdier, higher density products
• Beginner-friendly, no skills required


Highlights
Teacher Favorite
Eco-Friendly
Home-Compostable
Hands on Activity
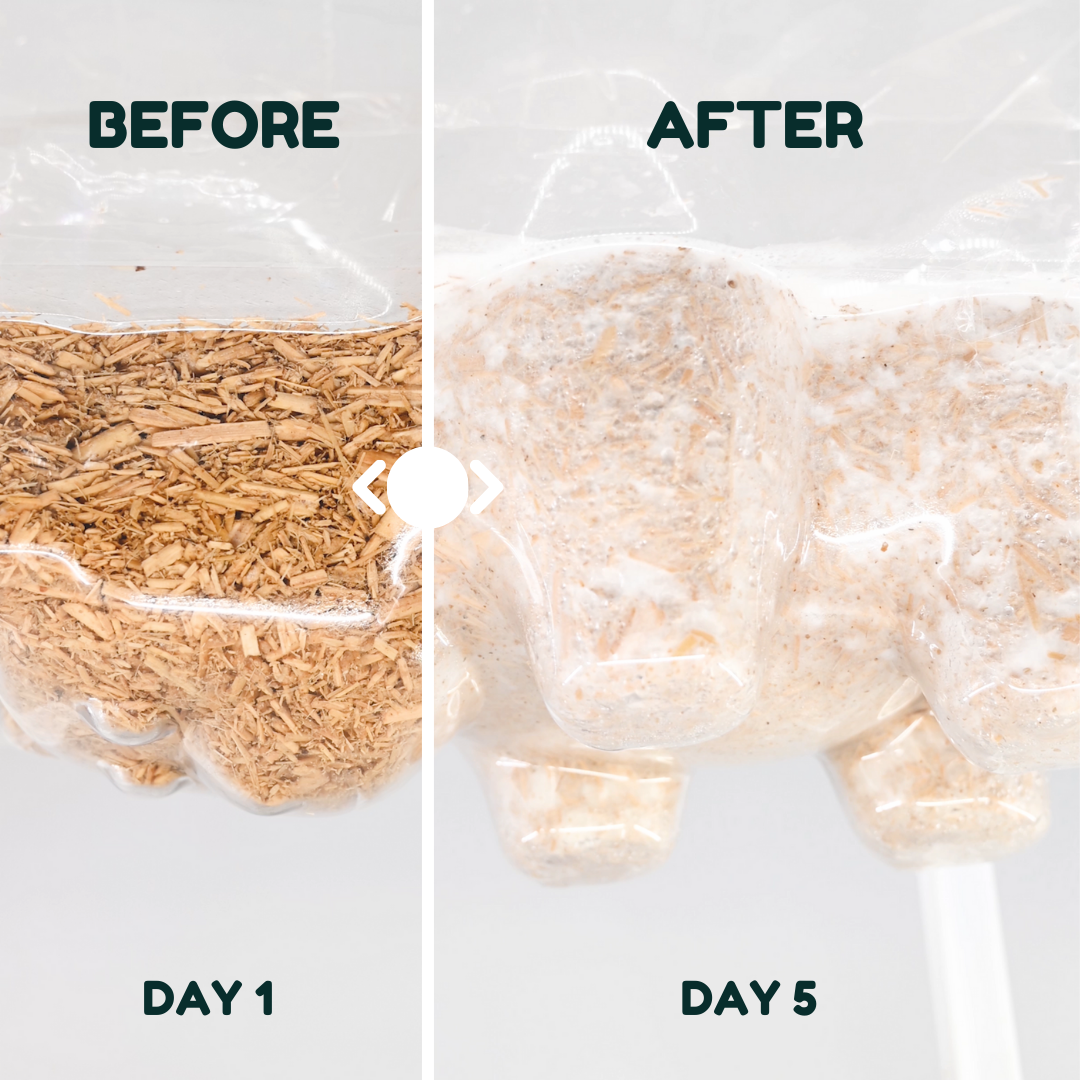
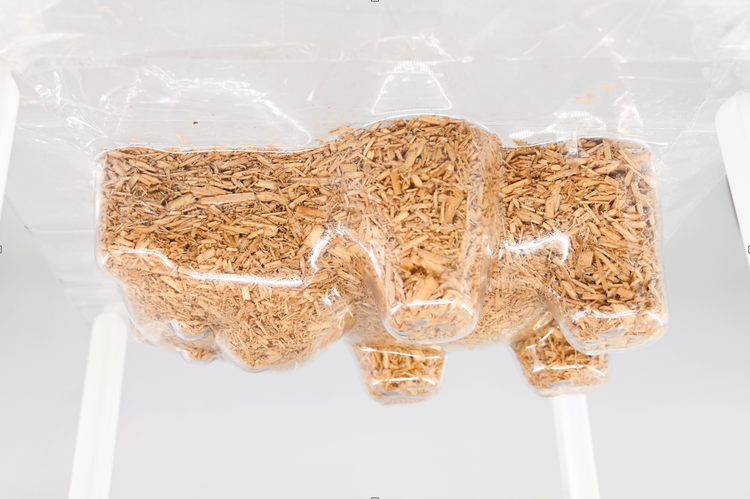
Before
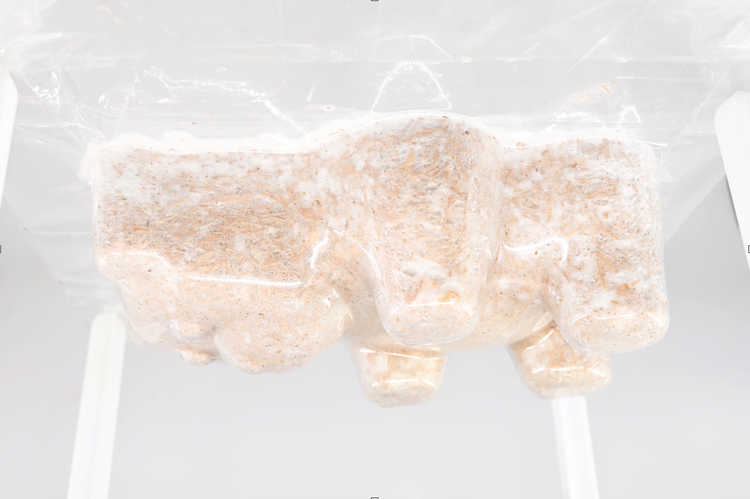
After
How To Grow
Step-by-step Guide to Growing the Classroom Activity Pack
Step 1: Mix
-
Prepare
- Open your Classroom Activity Pack and gather measuring spoons, water, flour, rubbing alcohol, tape, and scissors in preparation to grow.
-
Sanitize area
- Using the rubbing alcohol in a spray bottle, spray and wipe down the table, gloved hands, all tools, and growth forms.
- Wipe dry and let the rubbing alcohol fully evaporate.
-

Cut open bag
- Cut open the mini bags of dehydrated material above the white filter patch.
-

Add flour and water
- Measure 9 teaspoons water and add 2 g of flour and mix into a slurry.
-

Pour into bag and seal
- Once mixed, pour into the mini bag of dehydrated material.
- Roll the top of the bag down, stopping above the filter patch and tape to close.
-

Shake & Grow for 3-4 Days
- Shake the bag for 1 minute to hydrate thoroughly.
- Let bag grow for 3-4 days until white in a clean area, out of direct sun, with a room temperature at 72° F. Allow an additional day of growth if not well-grown after 4 days.


Step 2: Grow
-

Break up material
- Add material to a large bowl and break up all the chunks.
- Add 4 Tbsp flour and mix well for 1 minute.
-

Pack the Form
- Add material to the growth form and pack down as you continue to add more layers.
- Place a sturdy flat sheet on top of the form and tap all over to smooth the fill surface.
-

Grow for 5-6 Days
- Cover the form with plastic wrap or a lid and poke a few small holes for respiration.
- Grow until fully white again in a clean area with the same growth conditions as step 1.


Step 3: Pop + Pod, then Dry
-

Pop
- Flip the growth form upside down and tap until the grown part “pops” out of the form.
-
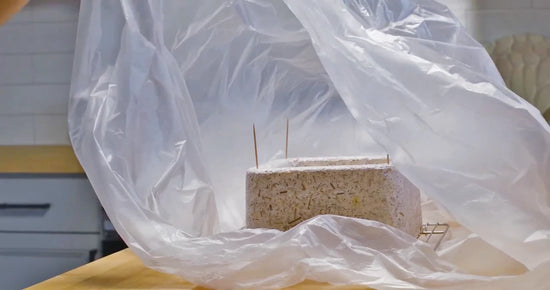
Pod
- Seal part in a roomy plastic bag with a cup of water to grow for 1 day to create a white, fuzzy overgrowth on the mycelium part.
-
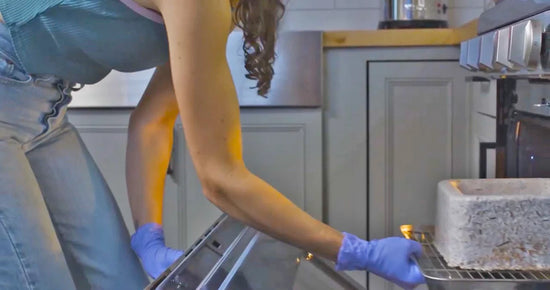
Dry
- Remove from the overgrown part from the pod and place on a baking sheet.
- Dehydrate the part at 180° F for 4-8 hours or until fully dry. The part will shrink in size!


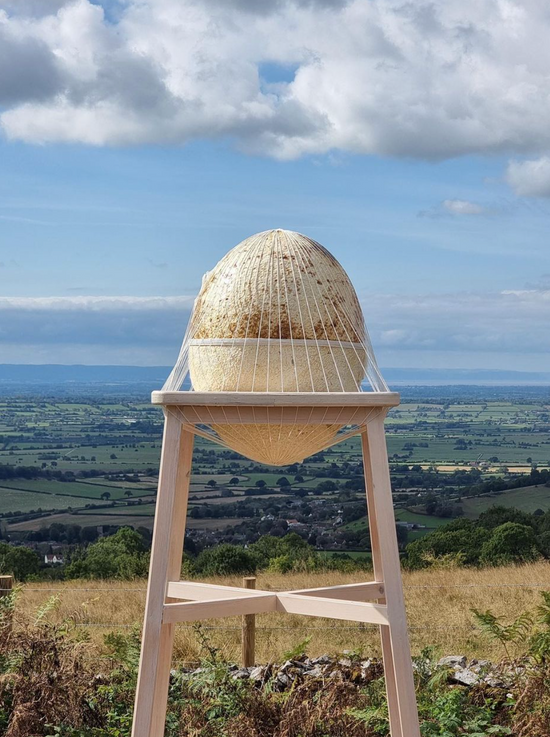
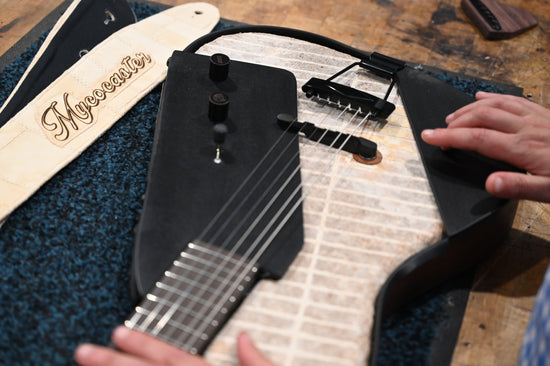
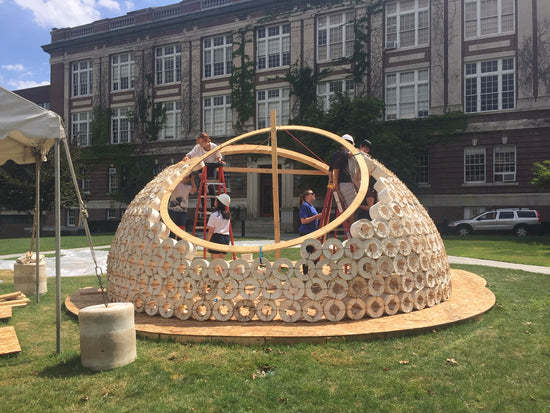
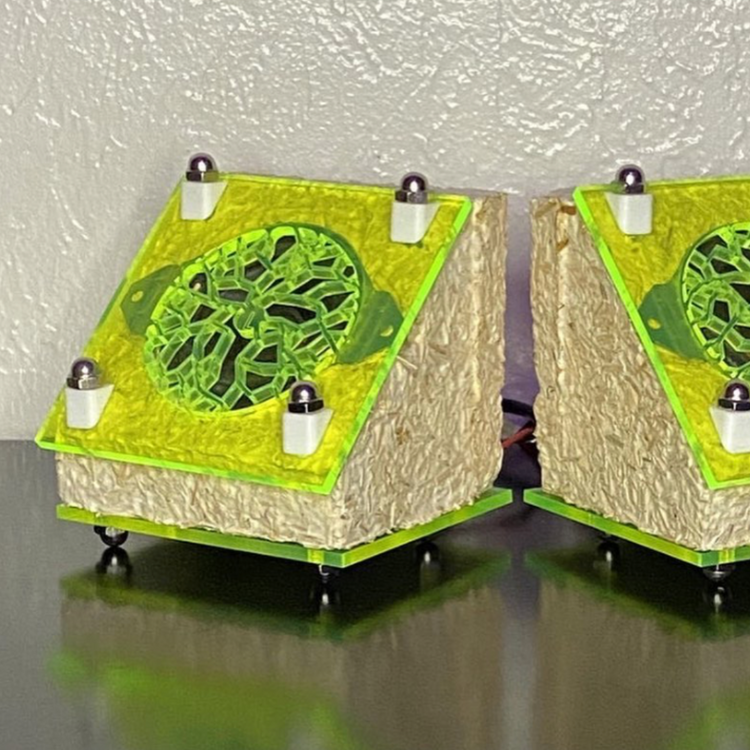
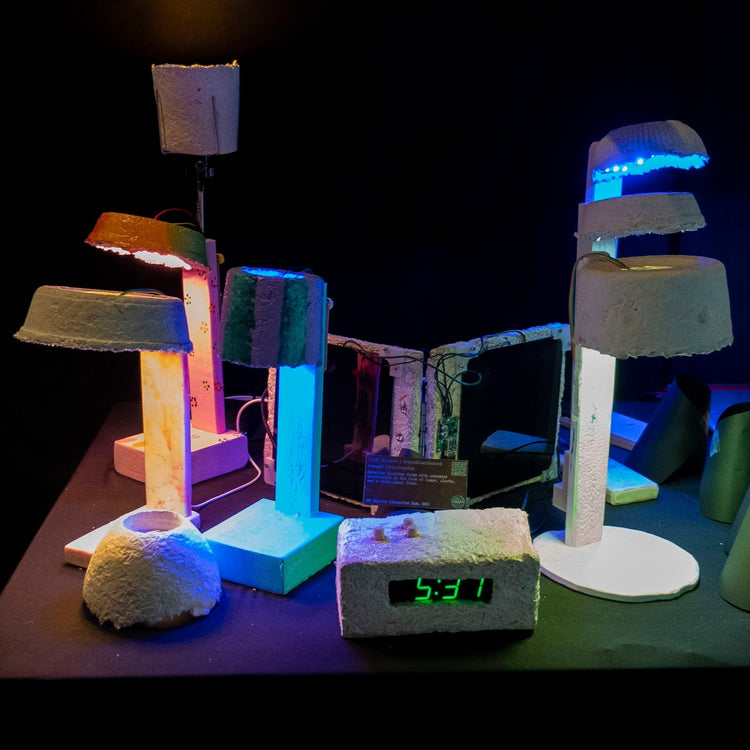
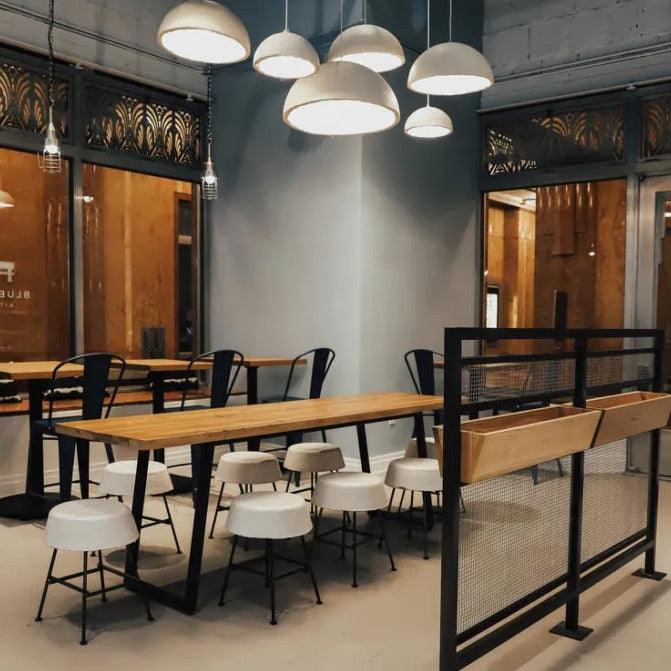
What You Can Create
Testimonials


IyvoneWe would recommend this material to makers in general that are looking for an eco-friendly alternative to polystyrene
KamillaThrough this process, I've developed a relationship with objects that is defined by a sense of cultivation. I would love for this approach to propagate, for material culture to be 'consumed' less and 'cultivated' more.
NoraI started experimenting...around 2015. The generous guidance and advice I've gotten from them has been invaluable. I love that I am collaborating with a living microorganism and find myself having a relationship and affection for the material.
FAQs
How long does it take to grow?
GIY material needs 3-4 days to grow after hydrating, then 5-6 days to grow once placed into your growth form. Total about is 7-10 days depending on the speed of growth!
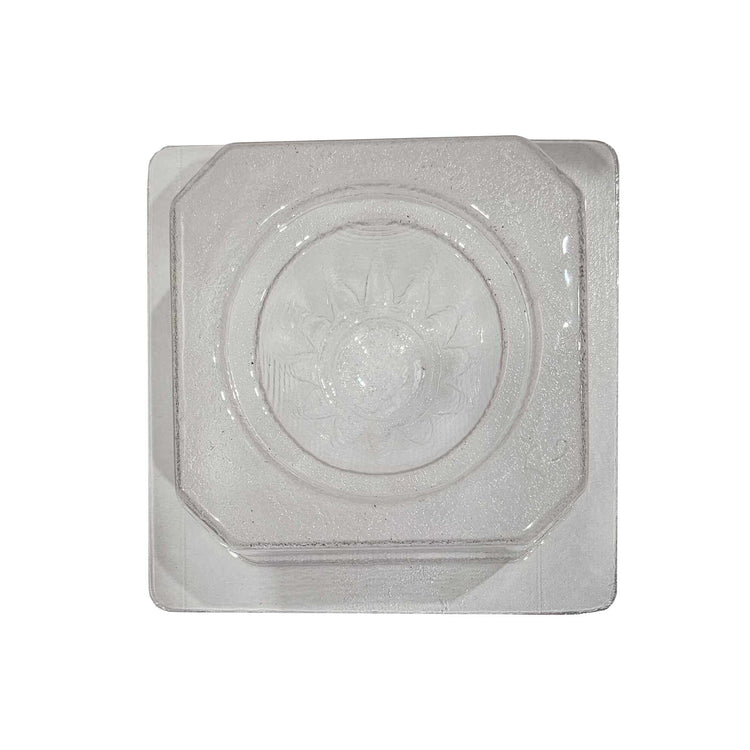
Can I use my own growth form?
Yes, absolutely! We encourage you to make your own growth form because it helps understand the mycelium material's properties. You can learn how to make your own growth form here: [LINK]
Is it beginner friendly?
Yes, our GIY material is often people's first introduction to working with biomaterials! You just need to add flour and water, and sit back and let the mycelium grow :)
See What Others are Growing
Share Your Creation