Growing your own mycelium seed starters is an easy and fun way to reduce the amount of plastic used in gardening, learn hands-on how to grow with sustainable materials, and give back to the earth while starting your seeds for the season. Give it a try and watch your plants thrive! 🌱💚
Like to follow along to videos, watch our seed starter reel here!
Why Choose a Mycelium Seed Starter Tray?
✨ Make multiple trays – You can create several mycelium trays using just one plastic seed tray mold.
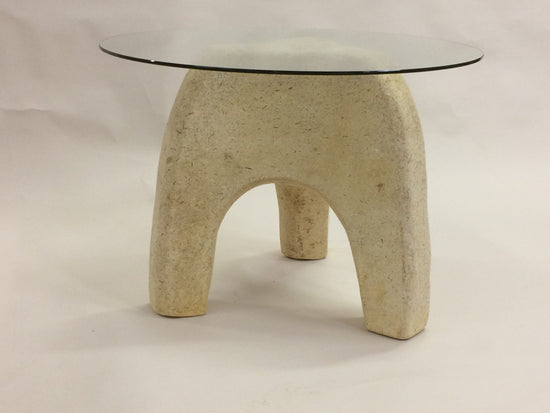
🍂 Truly home-compostable – Unlike some paper pulp trays that require industrial composting, mycelium seed trays can fully break down in your home compost bin.
🪱 Soil-enriching properties – Mycelium naturally adds nutrients to the soil, helping your plants grow stronger and healthier.
🍄 Fungal protection – When mixed into the soil, mycelium can protect against fungal rot and improve root development.
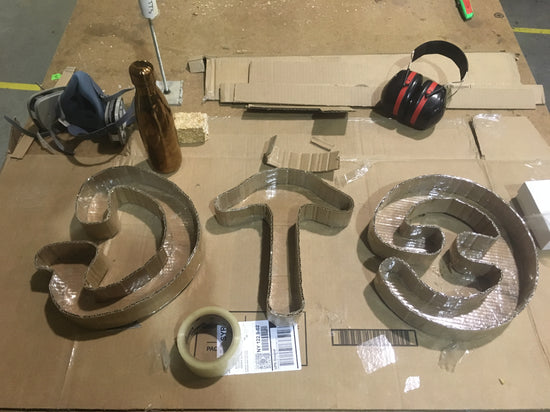
Supplies You'll Need:
-
Flour
-
Water
-
Measuring Cup
-
Measuring Spoons
-
Paper Towels
-
70% Rubbing Alcohol
-
Spray Bottle
-
Plastic Wrap
-
Plastic Seed Starter Tray
-
Tape
-
Scissors
-
Soil
-
Seeds
Mycelium Seed Starter Instructions:
-
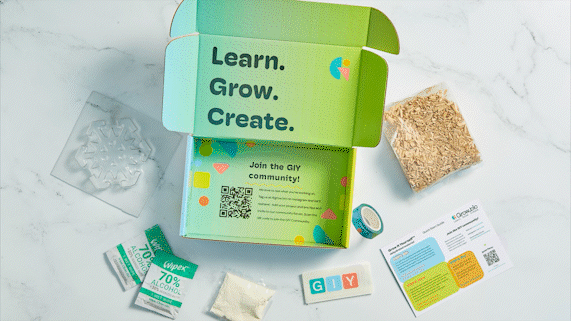
Order GIY or Living Material from Grow.bio – Grow It Yourself (GIY) material is a smaller, dehydrated bag of mycelium material, where as Living material is a larger, 20 lb bag already hydrated and growing (allowing you to skip ahead to Step 2 in the growing instructions!) This mycelium material is the foundation for your biodegradable seed trays.
-
Activate the Mycelium – Follow the GIY or Living material instructions to prepare and activate your mycelium material.
-
Prepare Your Plastic Seed Starter Tray – Clean your tray with rubbing alcohol using a spray bottle and paper towels to prevent contamination.
-
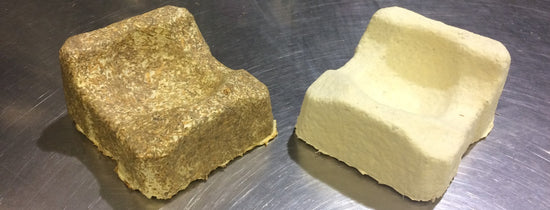
Mold the Mycelium – Once activated, pack the mycelium material onto the underside of the plastic seed starter tray, pressing it in firmly to take the shape of the tray.
-
Let It Grow – Cover the mycelium with plastic wrap and let it grow in a dark, warm area for 5-6 days.
-
Remove & Bake – After the growth period, carefully remove the plastic seed starter tray and bake the mycelium tray in the oven at low heat, around 180 degrees F for 2-4 hours, to dehydrate it and stop further growth.
-
Plant Your Seeds – Once the tray is dry, fill it with soil and seeds, just like you would with a regular seed starter tray.
-
Transplant & Compost – When your seedlings are ready to transplant, you can reuse the mycelium tray for another round or compost it. Crumbling it into your garden soil can help break down compost faster and provide extra nutrients for your plants.
Tag us @grow.bio in your growing journey! #GrowItYourself #SustainableGardening #MyceliumMagic #SpringPlanting