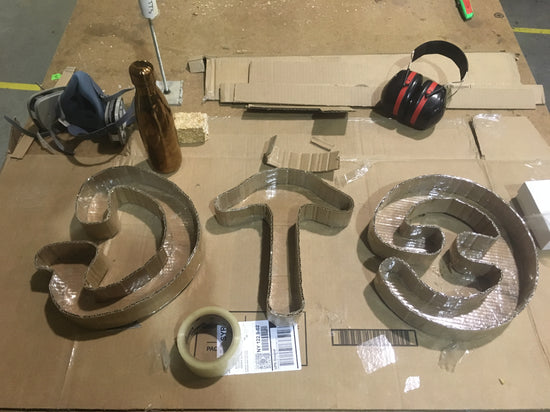
After an initial growth in a shape, usually 3-4 days, you will notice that your substrate is pretty well bound together. At this time you can remove it from the initial growth shape and put it in an incubation chamber.
Incubation chamber you say! What does this achieve?
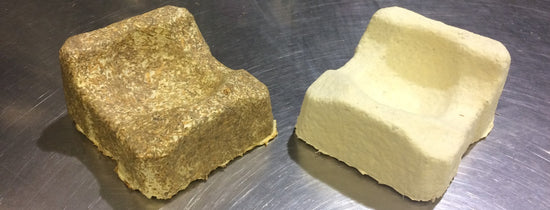
So far the mushroom’s mycelium has been growing inward around all of the particles binding them together. While this will still predominately be happening, the incubation chamber will encourage some mycelium to grow outwards searching for new resources. This will create a soft fuzzy white outer layer around your part as seen below.

The main goal of this incubation chamber is to create an environment as close to 100% humidity as possible. The growing part will help with this as some moisture goes into the environment. You will see condensation forming after a day. Putting in another source of water to evaporate will help make this happen faster. You are going to want to avoid direct sunlight and temperature swings. Air can hold different amounts of water depending on temperature so you want to keep it as consistent as possible. You can make your incubation chamber out of most containers. A baking container or bowl covered up with a glass of water inside work great.

|
 |
 |