Yes! Carving works great because you can make very complex shapes that wouldn’t be possible with regular tooling.
How to Carve with Mushroom Mycelium
Follow these steps for the best chance of success:
- Dump all of your material into a container with a lid and grow a big chunk of material for 4 days.
- After 4 days, remove the block of material from its container. It should still be wet at this step.
- Carve the block using your hands, a knife, a spoon, a bandsaw, etc. Please use caution during this step, knifes and saws are sharp!
- Once you’re finished carving, place the material in an enclosed bag or container and let it grow for another 3 days. The carving process can agitate the mycelium so this extra growth time will give it time to recover and develop a nice fluffy outer layer.
Mycelium Carved Creations
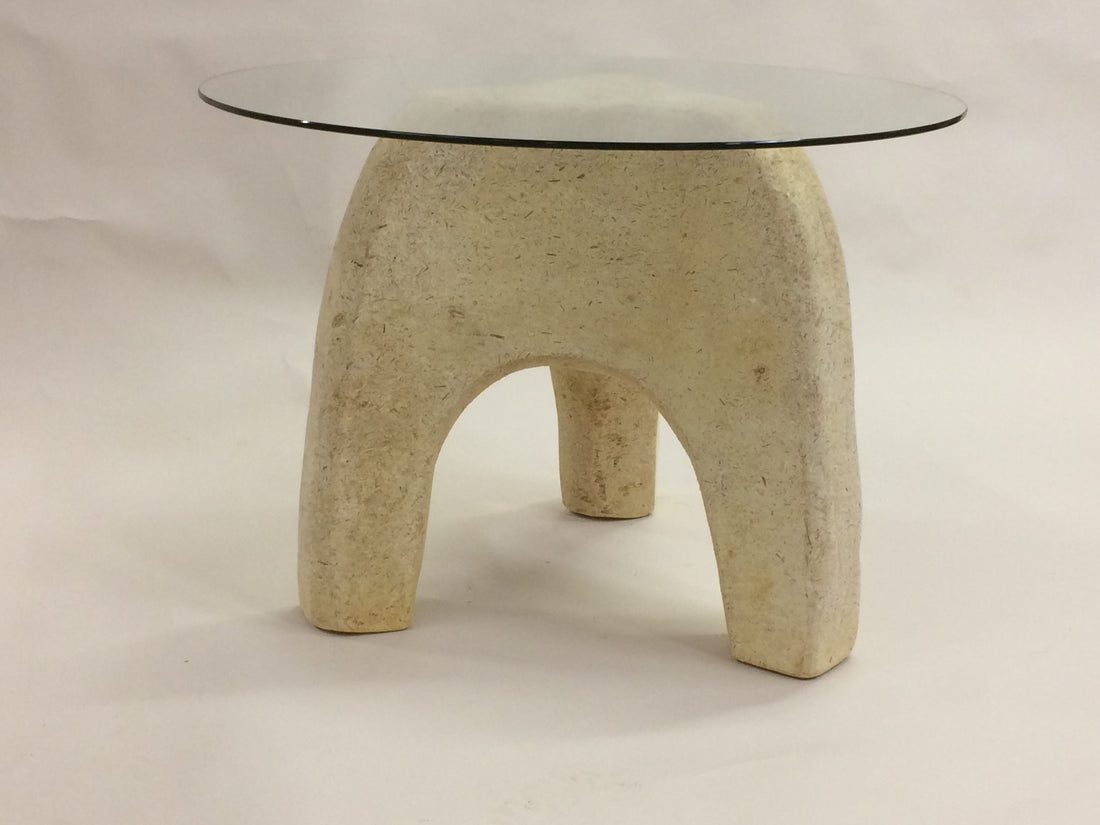
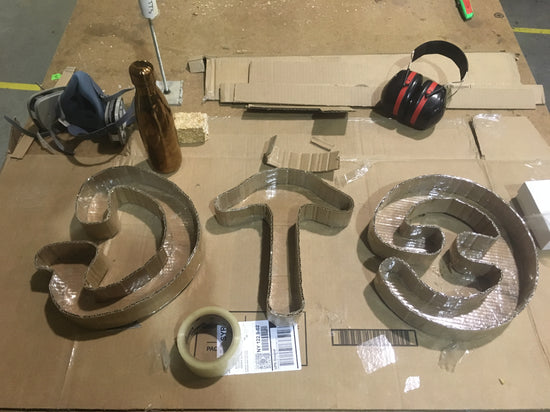
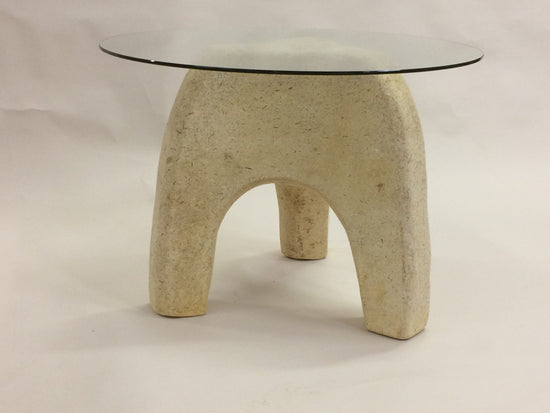
Check out this project by Tom Sippel, a perfect example of mycelium carving done right!

Another example is this beautiful fleur-de-lis inspired piece, carved by Jake from Ecovative Design.

Remember...this is science. This process can be difficult and may require some trial and error before you get it right. But once you have the technique down, it is a satisfying and earth-friendly way to create!


