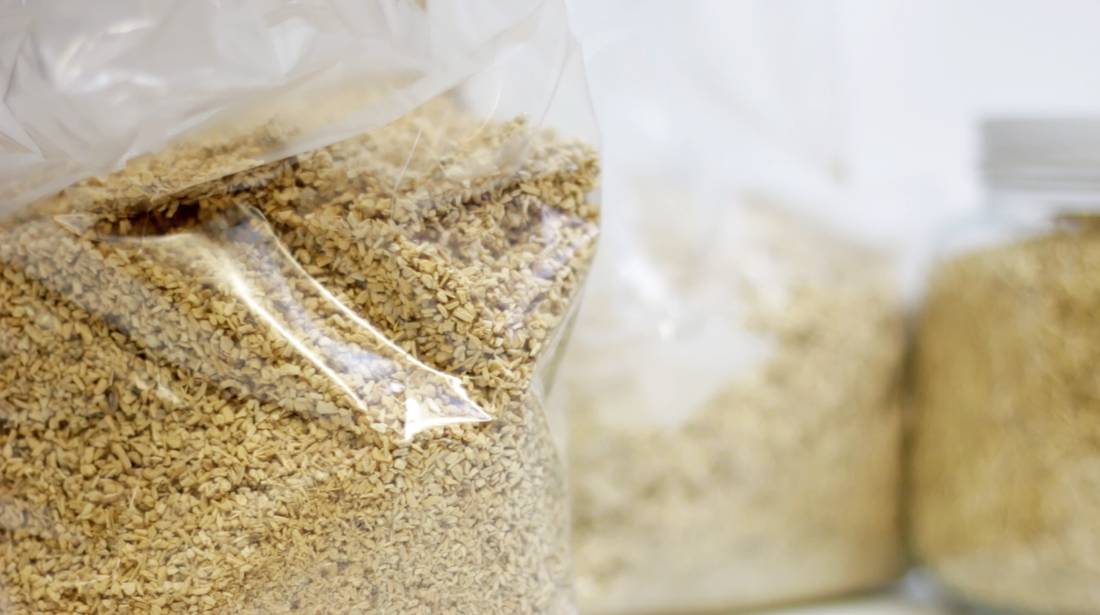
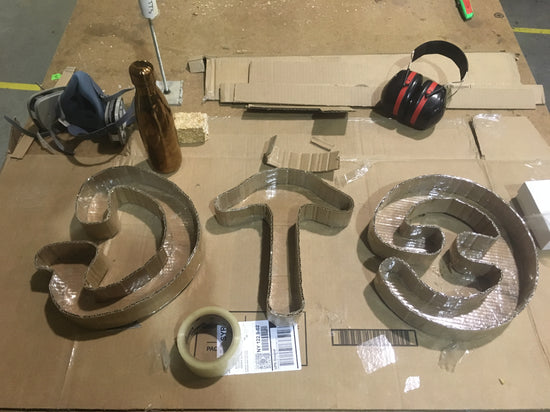
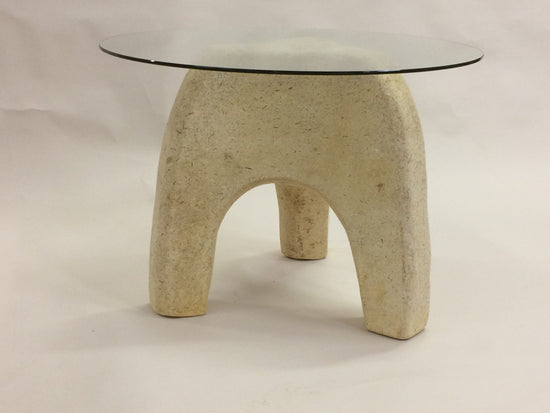
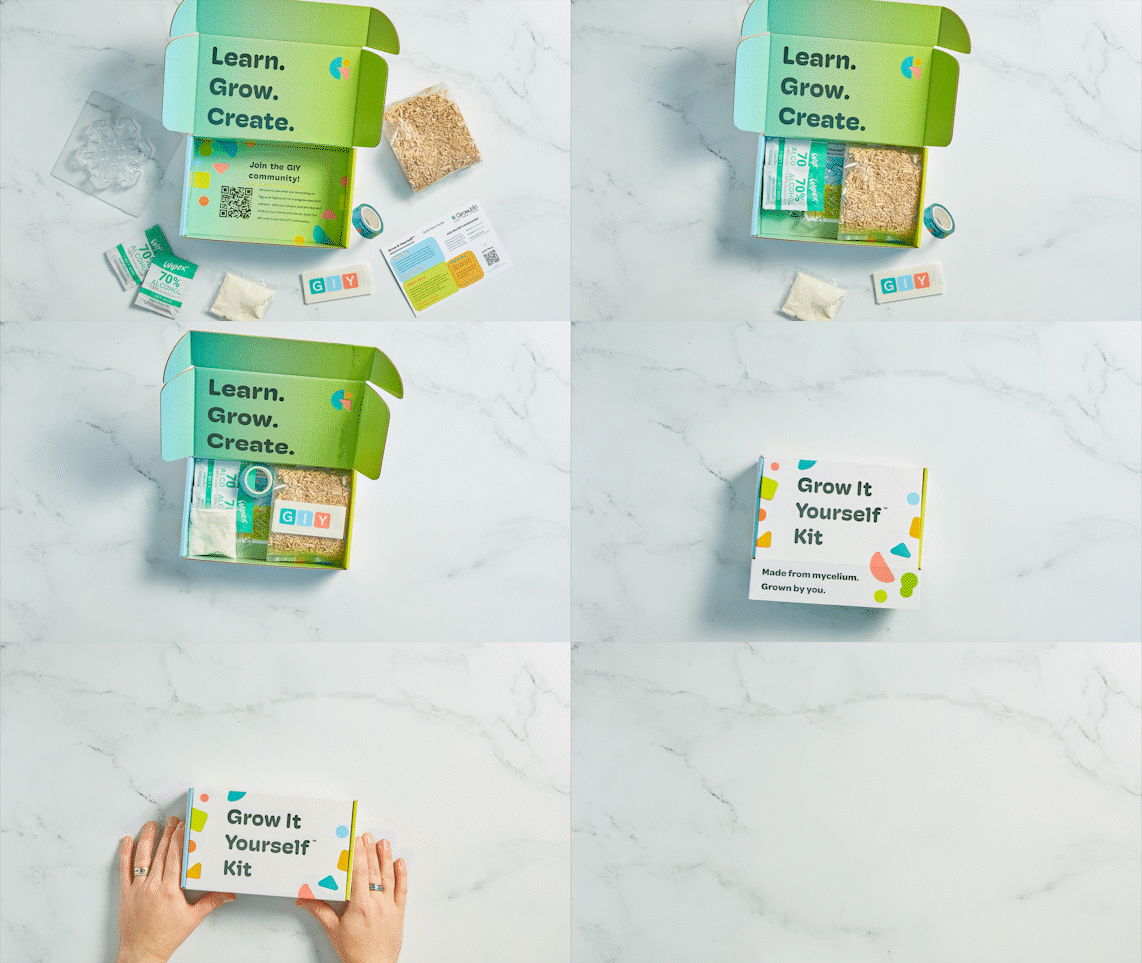
Multiple methods exist to "clean" or "pasteurize" your substrate before integrating it with our GIY material.
The common objective of these methods is to reach a temperature of 140-160° F (60-71° C) for 2-4 hours, effectively eliminating competing organisms.
Why pasteurize your substrate?
Pasteurization is used “to reduce or eliminate the bad microbes like insects, other fungi, and bacteria.”
What is the difference between sterilization and pasteurization?
Pasteurization is “not complete sterilization but a selective killing of pests that will compete for food or directly attack the mushroom, [and] minimizes the loss of good microbes.” [Source]
Our aim is simple – fostering the growth of our chosen mycelium strain while preventing the unwelcome presence of molds and bacteria. That's the essence of pasteurization in mushroom cultivation.
Check out our blog "How to incorporate new substrate into your GIY material" for recommendations on substrates and the ideal incorporation ratio.
Here are a few of the easiest ways to pasteurize substrate at home–
Instant pot
Instant pots are a convenient and efficient way to pasteurize substrate for mushroom cultivation at home. Here are the general steps to follow:
- Prepare your substrate by mixing the ingredients according to your recipe.
- Put the substrate in a heat-resistant bag or container that fits in your instant pot. Make sure to leave enough room for the substrate to expand during the pasteurization process.
- Add enough water to the instant pot to fully cover the substrate.
- Place the bag or container in the instant pot and close the lid. Make sure the vent is in the sealed position.
- Select the "Manual" setting on your instant pot and set to low pressure for 90 minutes.
- Once the time is complete, carefully switch the vent to release and let the pressure expel until unremove the bag or container from the instant pot and let it cool to room temperature before using it for mushroom cultivation.
It's important to note that different instant pot models may have slightly different instructions, so make sure to consult your instant pot manual for specific directions on pasteurization. Also, be sure to use a heat-resistant bag or container that is safe for use in an instant pot, and avoid using plastic bags or containers that are not rated for high temperatures.
Pressure cooker
Using a pressure cooker is an effective way to pasteurize substrate for mushroom cultivation at home. Here are the general steps to follow:
- Prepare your substrate by mixing the ingredients according to your recipe.
- Put the substrate in a heat-resistant bag or container, such as Ball jars, that fit in your pressure cooker. Make sure to leave enough room for the substrate to expand during the pasteurization process.
- Add enough water to the pressure cooker to fully cover the substrate.
- Close the pressure cooker lid and make sure it is properly closed and switch the valve to the sealed position.
- Place the pressure cooker on your stove, or plug in if not a stovetop version, and turn the heat to high. Allow the pressure to build up until the pressure valve on the lid starts to hiss.
- Reduce the heat to maintain pressure and cook the substrate for 90 minutes.
- Once the pasteurization cycle is complete, turn off the heat and allow the pressure to release naturally. Do not try to open the pressure cooker until the pressure has completely released.
- Carefully remove the bag or container from the pressure cooker and let it cool to room temperature before using it for mushroom cultivation.
It's important to note that different pressure cooker models may have slightly different instructions, so make sure to consult your pressure cooker manual for specific directions on pasteurization. Also, be sure to use a heat-resistant bag or container that is safe for use in a pressure cooker, and avoid using plastic bags or containers that are not rated for high temperatures.
Boiling pot of water
The boiling pot of water method is a simple way to pasteurize substrate for those who doesn’t have pressure cookers!
- Prepare your substrate by mixing the ingredients according to your recipe.
- Place your substrate in a heat-resistant bag or container. Ensure that the container allows for some air exchange but prevents contaminants from entering. Leave enough room for the substrate to expand.
- Fill a large pot with enough water to full submerge the substrate. You want the water to be able to circulate through the substrate during pasteurization.
- Put the pot on the stove and bring the water to a boil.
- Gently submerge the bag or container with the substrate into the boiling water.
-
Maintain the water at a simmer, not a rolling boil, to keep it at around 160° F (71° C). Pasteurize the substrate for at least 1 hour.
- Use a thermometer to monitor the water temperature. Adjust the heat to maintain the temperature within the desired range.
- After pasteurization, carefully remove the substrate from the water with heat resistant gloves and let it cool to room temperature.
- Be cautious when handling hot water and substrate. Use oven mits and ensure everything is clean to avoid contamination.
- Once the substrate is cooled, it’s ready to be incorporated into the GIY material, or other mushroom mycelium or spores of your choosing.
Microwave
It is possible to pasteurize substrate for mushroom cultivation using a microwave, but it can be more difficult to maintain consistent temperatures and ensure proper pasteurization. If you choose to use a microwave, here are the general steps to follow:
- Prepare your substrate by mixing the ingredients according to your recipe.
- Put the substrate in a microwave-safe container, leaving enough room for the substrate to expand during the pasteurization process.
- Add enough water to the container to fully cover the substrate.
- Cover the container with a microwave-safe lid or plastic wrap. Make sure to leave a small vent or opening in the lid or wrap to allow steam to escape during the pasteurization process.
- Microwave the container on high for 10-15 minutes, or until the water begins to boil.
- Reduce the microwave power to 50% and continue microwaving for 20-30 minutes, depending on the specific substrate and recipe.
- Check the substrate temperature with a thermometer to make sure it has reached at least 160°F (71°C) for at least 1 hour.
- Once the substrate has been pasteurized, carefully remove it from the microwave and let it cool to room temperature before using it for mushroom cultivation.
It's important to note that pasteurization with a microwave can be challenging and may not always produce reliable results. If possible, using a traditional method of pasteurization, such as with hot water or steam, may be a better option for ensuring proper pasteurization of your substrate.
For more how-to’s, myths, and tips and tricks with GIY mycelium material, follow us on Instagram and Tiktok @grow.bio!


