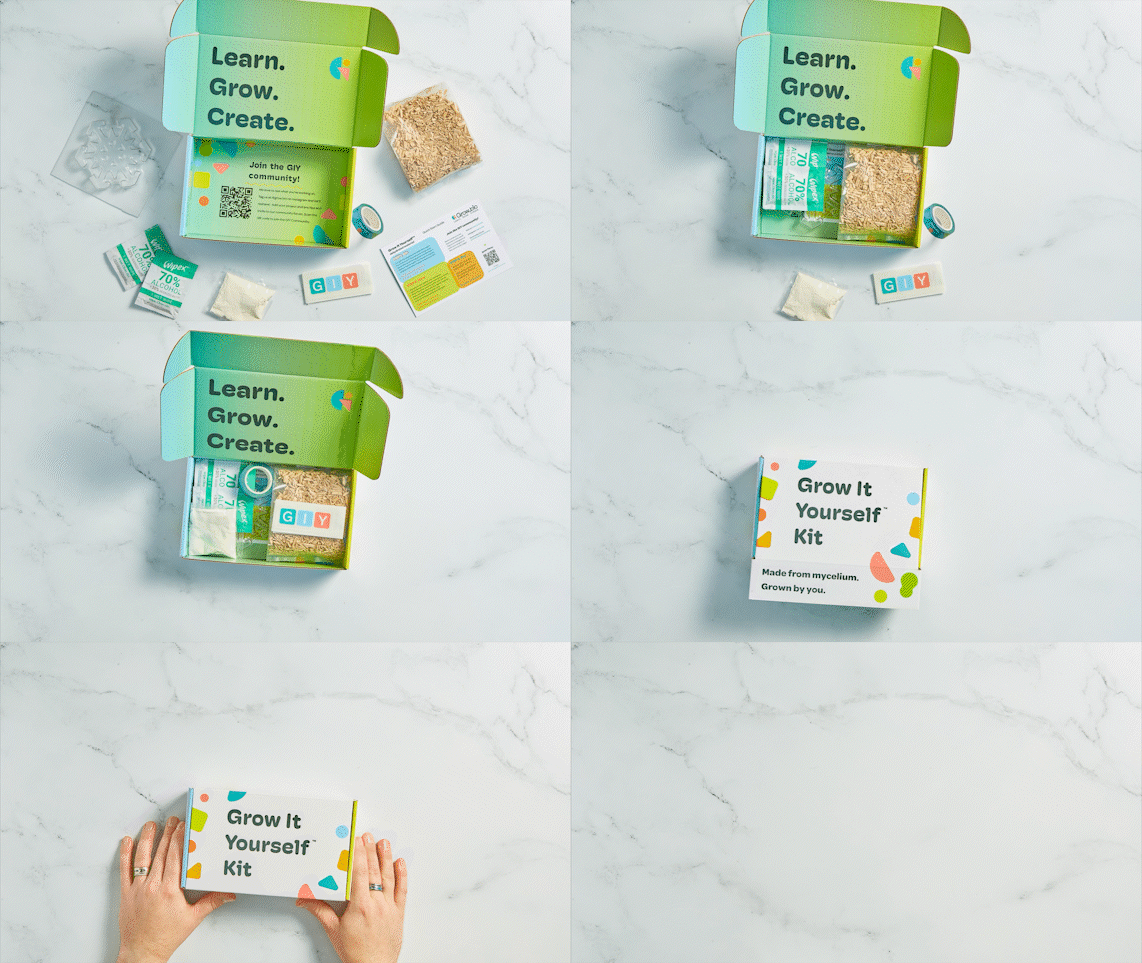
Greetings from the Grow.bio team! We're going to revamp the classic volcano science project by giving it a modern, sustainable twist that will blow your class away. The key: Mycelium. When mixed with agricultural byproducts, mushroom mycelium can be grown into a composite form that’s compostable and adds nutrients back to the soil. Outdated materials like paper-mâché can’t compete with that! These materials are not only more environmentally friendly, but they will also demonstrate your knowledge of biology, since you are working with living organisms after all. Let’s get started!
List of materials:
- 1 bag of GIY Living Material
- 2-3 bags of Sculpting mix
- Large plastic bin
- Gloves
- Isopropyl Alcohol / 70% Rubbing Alcohol
- 2 Spray bottles
- Measuring cup
- 12” Traffic Cone
- Large plastic bag/tarp
- Small bowl
- Scissors
- Tape
- Water
Step 1: Sanitize, sanitize, sanitize.

Put on your gloves and spray your workstation, large bin, and wipe down all materials that you will use in your experiment with isopropyl alcohol, including your gloves! This is important because unwanted bacteria will affect the results of your mycelium volcano.
Step 2: Let’s get growing
Before opening the bag, use your hands to hit the exterior of the bag on all sides. This helps save time breaking up the material before adding it to the (sanitized) large bin. Open the bag with scissors and dump the material into the bin, continuing to break up any chunks until the material is crumbly and no longer white.
Step 3: Add flour and sculpting mix-in!

Sprinkle in ¾ cup of all-purpose flour to the broken up Living material and mix. Then add in Sculpting Mix, which comes premeasured in 6 oz bags (1.5 cups.) You may need 2-3 bags of Sculpting mix for Living material since it is a much larger volume than the GIY dehydrated material product one bag is created for.
Fun Fact: Sculpting mix removes the need for a growth form and allows you to pack the material onto itself! When creating a volcano with mycelium, this will make it easier to pack the material freely onto a cone without falling apart.
Step 4: Create a volcano that will rock your classroom

Now it’s time for the fun part! Separate your material to each side of the bin and place your (sanitized) cone in the center. Gradually start to add material over your cone from the bottom and work your way to the top of the cone. Apply pressure when placing the material onto the cone to ensure it sticks. You’re going to build the material up ¾ of the way up the cone so your volcano will have a natural vent.
Step 5: Let nature do its thing

Once you’ve finished creating the world's most awesome mycelium volcano, place the volcano and bin inside a clear plastic bag. Add a dish of water to the bin next to the volcano and mist the inside of the bag with water before sealing it up tight with tape to help keep the humidity high.. Allow it to grow for 5-6 days at 72 degrees F until the material turns white again.
Step 6: It's time for your volcano to feel the heat!

At this stage, your mycelium volcano should be completely white is ready to remove the cone from the material. With gloves on, gently use your fingers to separate your mycelium volcano from the cone. Work slowly, moving around all sides to not break the mycelium material, it is fragile in this stage! Once your volcano is removed from the cone, place it on a baking sheet and dehydrate in the oven at 180° F for 4-8 hours or until fully dry.
Step 7: Time to be blown away!

We wanted our mycelium volcano’s eruption to be just as epic as the volcano itself, that’s why we chose Elephant Toothpaste! Elephant Toothpaste is kid-safe and demonstrates a chemical reaction that produces a large amount of foam that looks just like toothpaste squirting out of a tube. Add ingredients to a bottle on the inside of the volcano, pour in the activator, and stand back!
We hope you enjoy growing your own mycelium volcano! Let us know what you think and any other ideas you’d like to see us do!
-Grow.bio Team
giy@ecovative.com
@grow.bio


